Backup and Restore Ubuntu 14.04 LTS Desktop
Routine backup is an essential part of preventing the loss of your important data. This document covers steps required to backup and restore Ubuntu Desktop in the case of an event. Ubuntu 14.04 LTS comes pre-installed with Déjà Dup, an easy to use backup tool which integrates nicely with the Desktop.
Déjà Dup allows you to restore your Ubuntu system from backup, recover a missing file or revert to a previous version. These incremental backups are preformed based on schedule, where only changes since the preceding backup are stored, which saves on time and disk space.
Hardware Requirement
Before implementing a backup and recovery strategy you have to decide where your data will reside. I do not recommend storing a backup on the same drive as the originating data. For most home users or small businesses, targeting a secondary local hard drive is a simplistic method providing basic protection and is cost effective. For this case, I'd recommend the purchase of a Seagate Desktop HDD 4TB (Model ST4000DM000) which offers proven reliability and endurance at a low price.
Backup Ubuntu 14.04 LTS
The methods outlined in this document were written for Ubuntu 14.04 LTS and may not be applicable to all versions of Ubuntu. It is our plan to publish revised HowTo Backup articles for future stable Ubuntu LTS releases.
Step 1
Tap the Super key (Windows key) on your keyboard, search for "backups" and click the icon. Alternatively you may also launch the backup utility via System Settings menu.

Step 2
Within the backup utility, lets skip the Overview information for now.

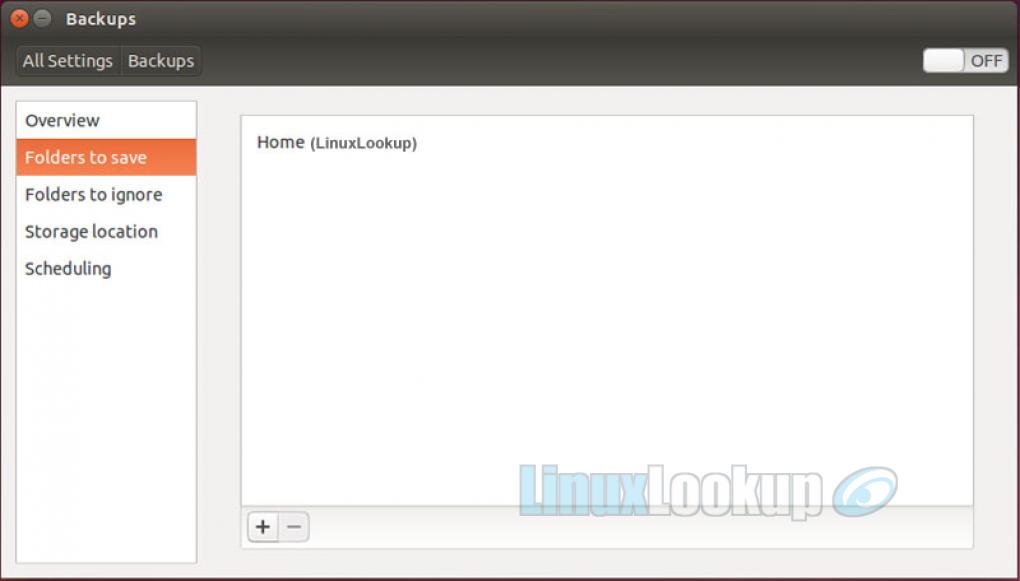
Select the Folders to save option. By default the application will backup your user Home directory, but you may change or make additions based on your needs. Use the +/- buttons to make any changes then proceed to the next step.
Step 3
Select the Folders to ignore option. Here we list any path you'd like to exclude from backup. Keeping the default locations is safe and can be adjusted if you modify your folders to be backed-up.

Step 4
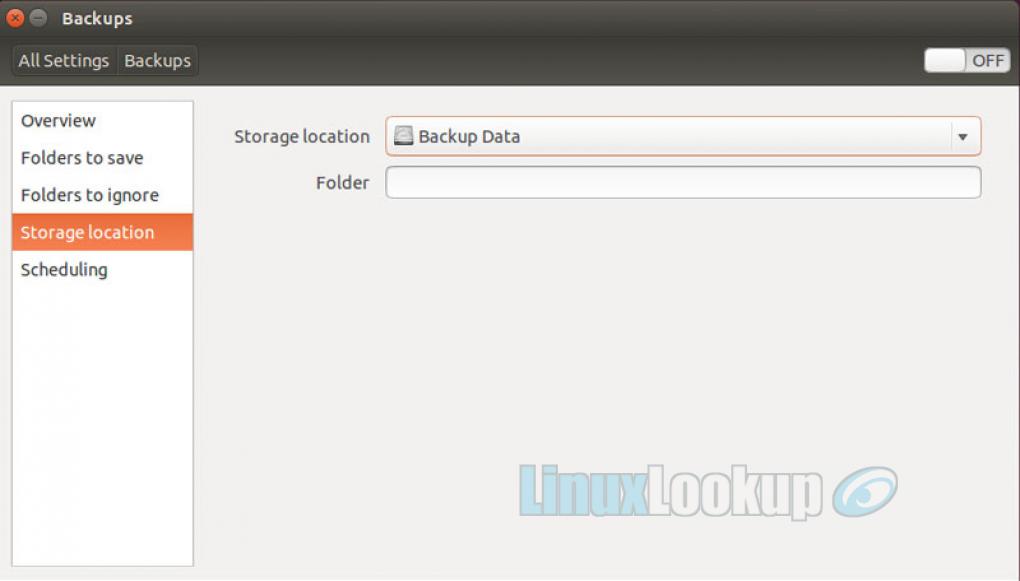
Select the Storage location option. You'll need to define where backup data will be saved. From the pull-down menu select your secondary hard drive.
Step 5
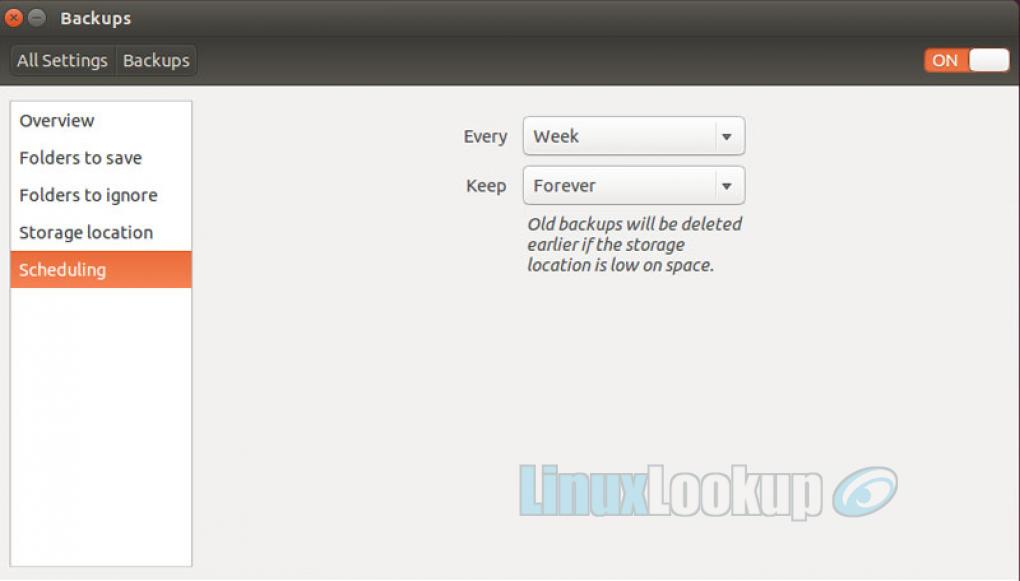
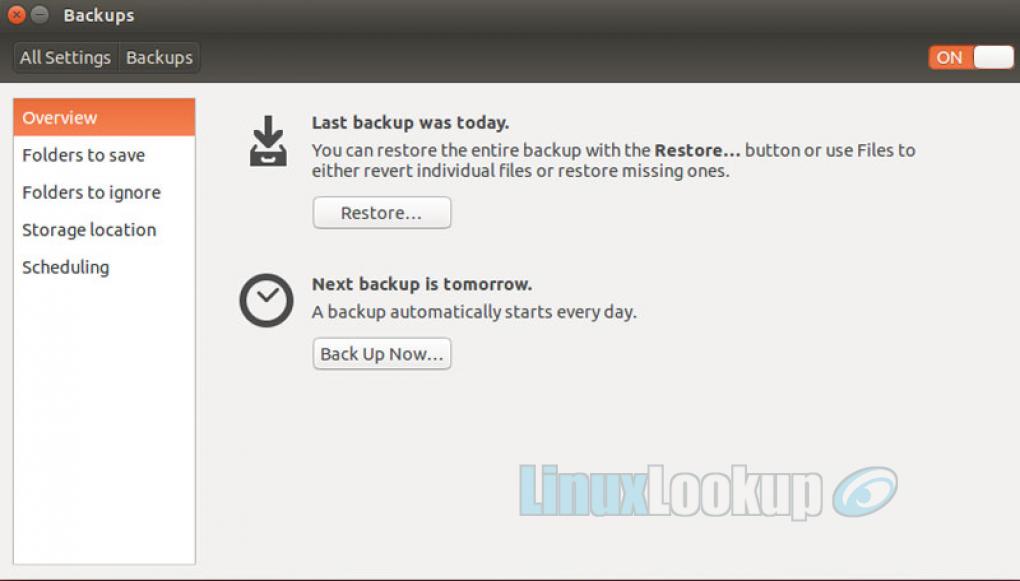
Select the Scheduling option. This is where you define when the backup will execute and how long data is retained. For whatever reason, the application does not allow you to modify when backups are ran until it is enabled, so turn On backup with the toggle button located in the top right corner. Then you'll be able to select a weekly or daily backup schedule.
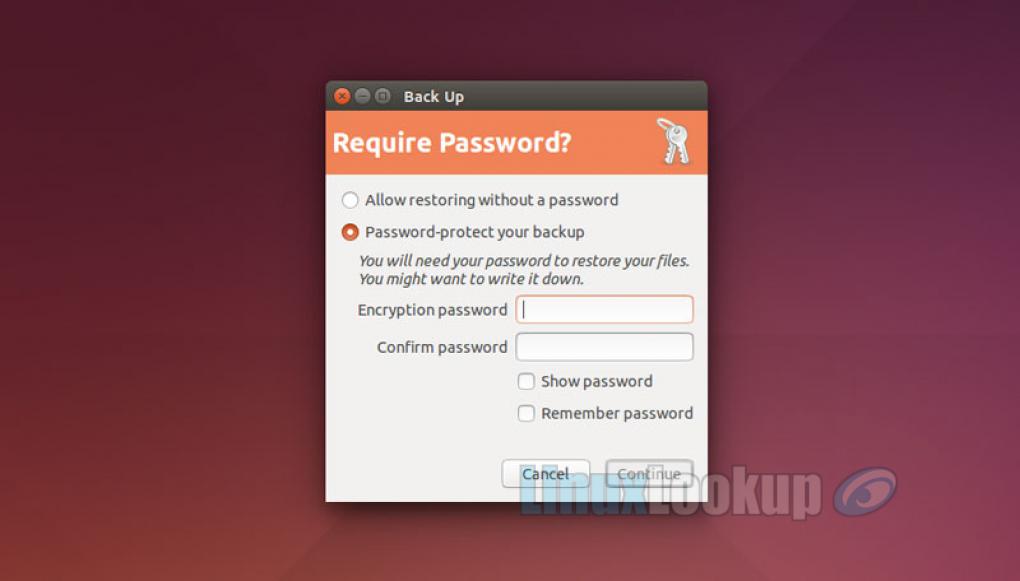
Upon enabling you'll be prompted to Password Protect the recovery data, this is a personal preference, so you use own judgement.
Step 6
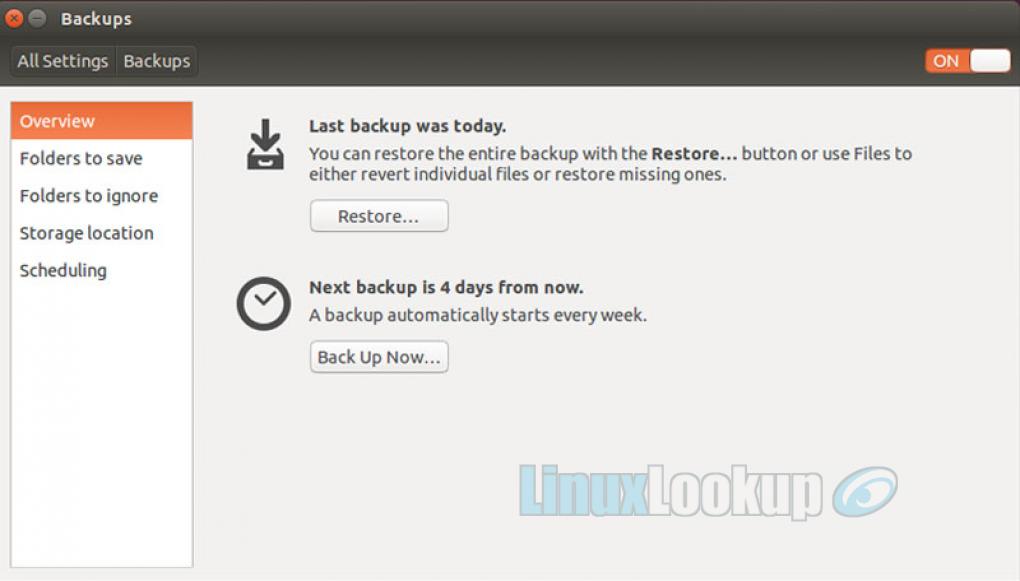
Now that we've configured and enabled our backup the details can be viewed back the Overview tab. Review your backup settings and make adjustments if required.
Restore & Recover Ubuntu
It is equally important to verify your backups are working and that data can be recovered.
Using our backup we can restore the Ubuntu system, recover a lost file or revert to a previous copy. To revert an existing file to a previous copy from backup, simply right click the file and select Revert to Previous Version... from the pull-down menu. Otherwise, follow steps bellow for recovery.
Step 1
From the Overview tab select Restore.
Step 2
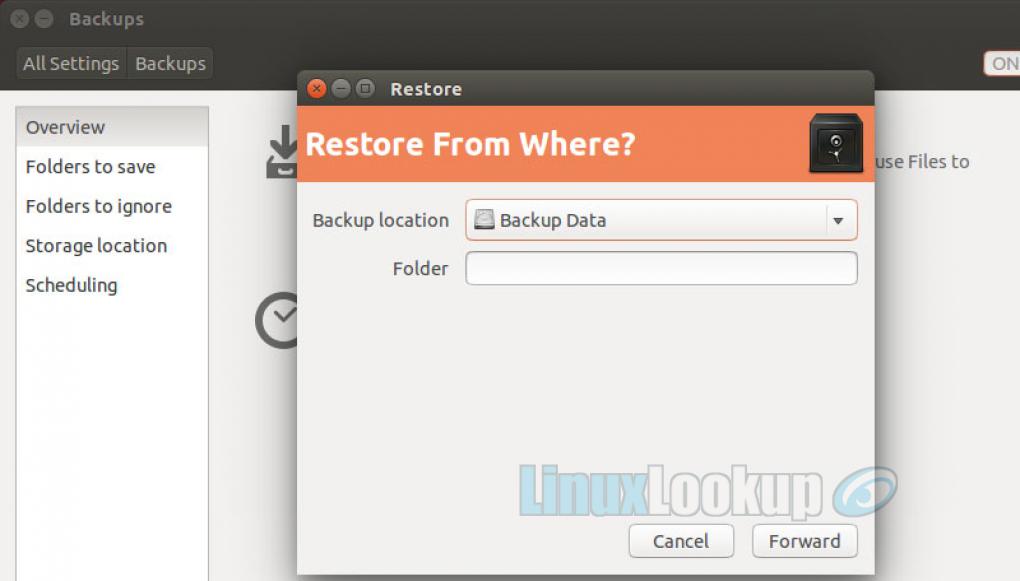
Select the Backup Location where your data was saved. In our example, it would be the secondary hard drive.
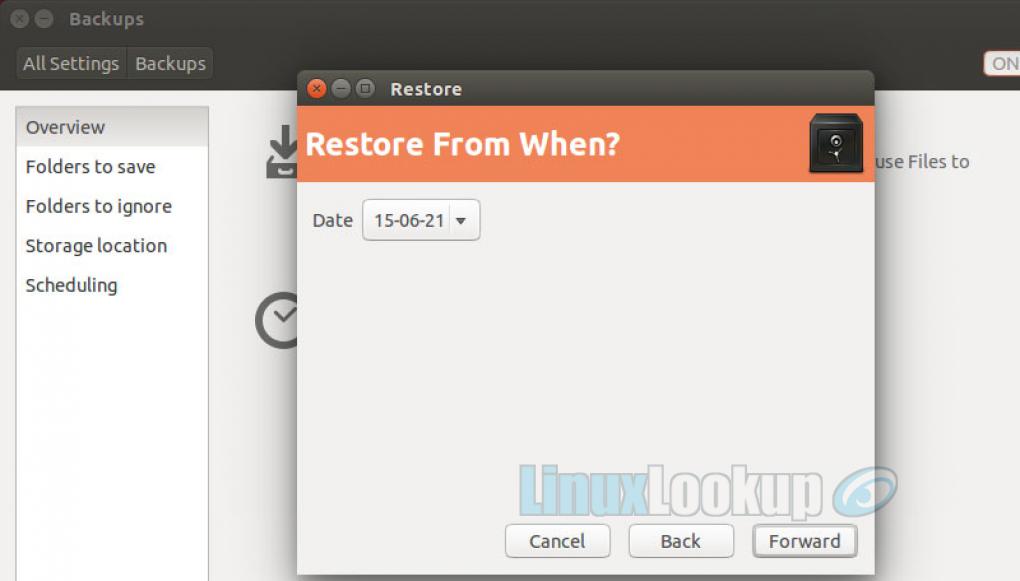
Step 3
From the pull-down menu choose the appropriate Date you would like to restore from.
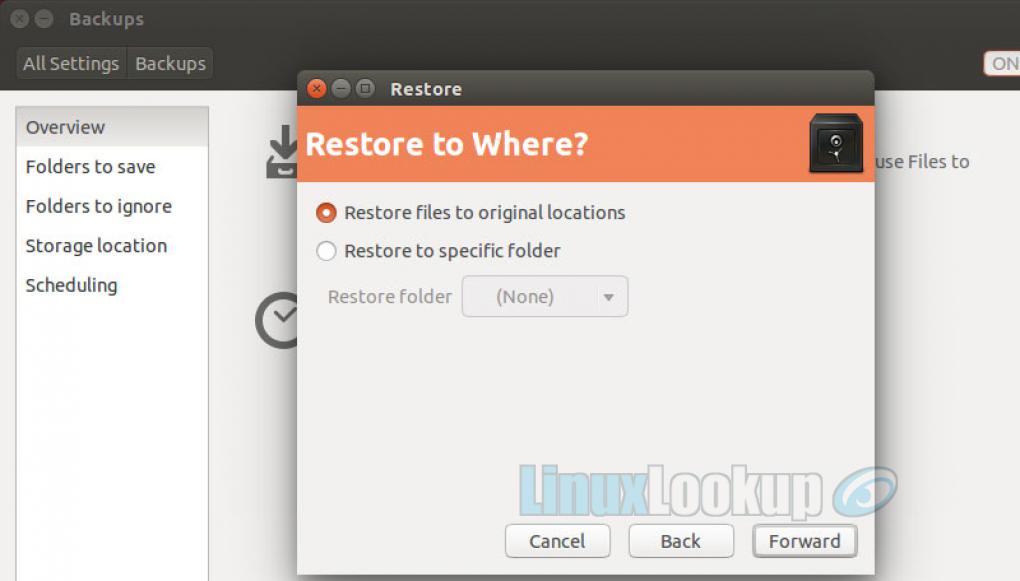
Step 4
Choose to restore files to their Original Location or to a Specific Folder.
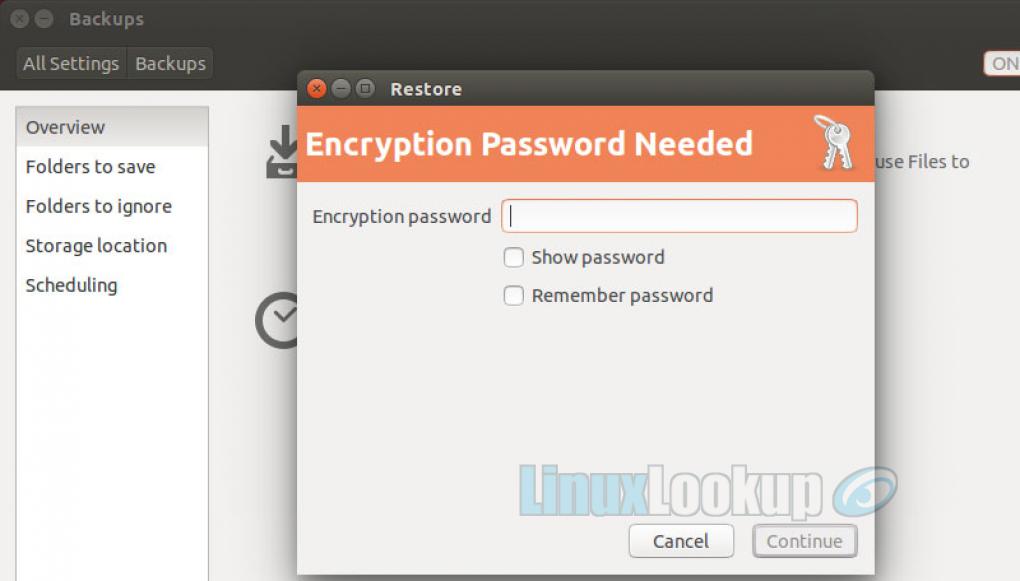
Step 5
Enter the Encryption Password if applicable.
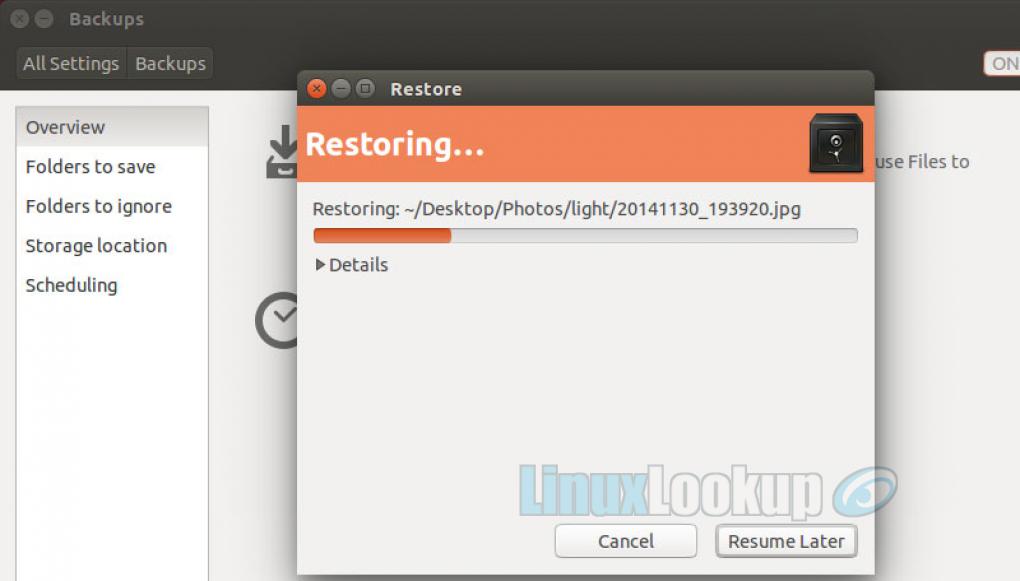
Step 6
A progress bar will indicate current status.
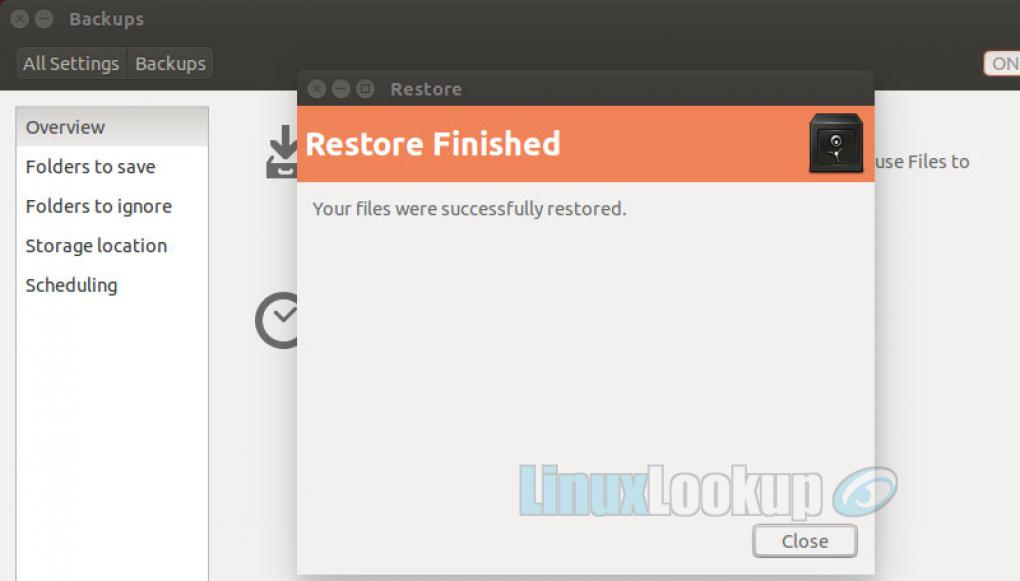
Step 7
The backup utility will notify once your task has completed.