Create a bootable Ubuntu USB stick from within Ubuntu Desktop
A bootable Ubuntu USB stick is the fastest way to install or upgrade Ubuntu, also the best method of trying Ubuntu without changing your existing PC configuration whether it be Linux or Windows.
This HowTo covers the process for creating a bootable Ubuntu USB stick from within Ubuntu itself. Before getting started, make sure you have a USB stick with 2GB capacity or greater on-hand.
Step 1
First, download the Ubuntu ISO version you'd like to write to the USB stick.
Step 2
Insert your USB stick, select Do nothing if prompted by Ubuntu.
Step 3
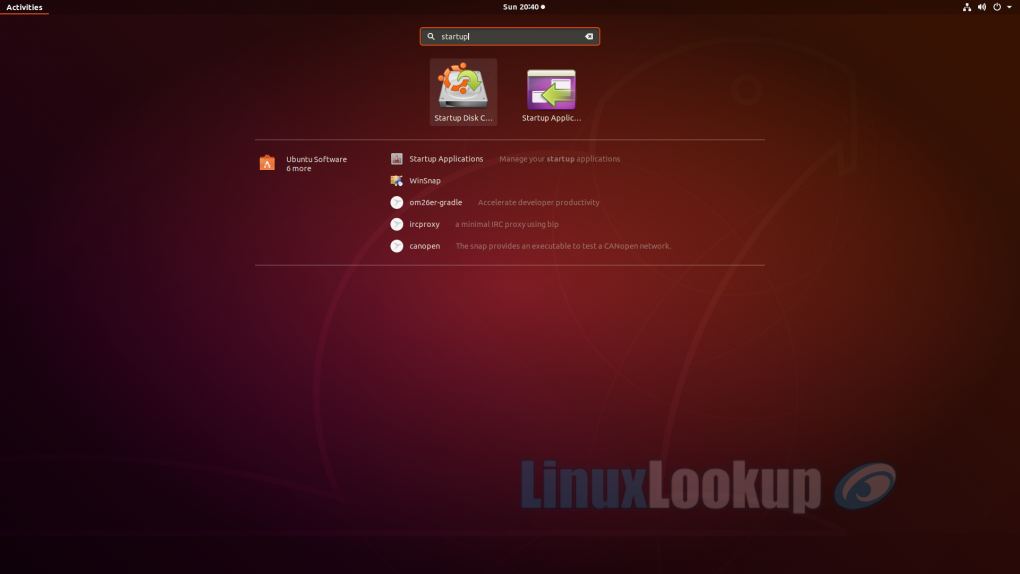
From the Desktop, we're going to search for and launch Startup Disk Creator.
In Ubuntu 18.04 and later, use the bottom left icon to open Show Applications.
For older versions of Ubuntu, use the top left icon to open the dash.
Input Startup Disk Creator into the search field.
Step 4
Select Startup Disk Creator icon from the results to launch the application.
Step 5
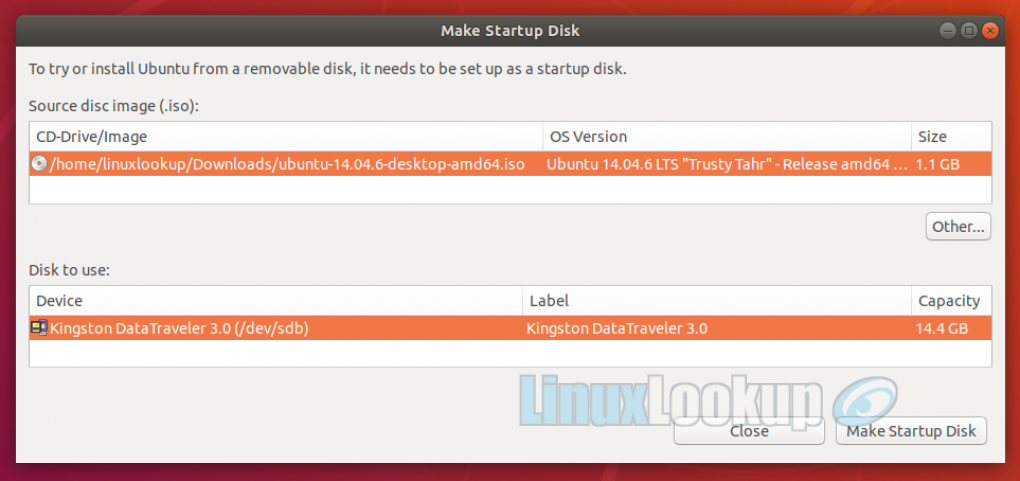
When launched, Startup Disk Creator will look for the ISO files in your Downloads folder, as well as any attached USB storage. Both your Ubuntu ISO and the correct USB device will have been detected and set as Source disc image and Disk to use.
If not, use the Other button to select your ISO file or USB device you want to use.
Step 6
Click Make Startup Disk to start the process. You will then be prompted to confirm writing the disk image to the device as any data currently stored on this USB device will be lost.
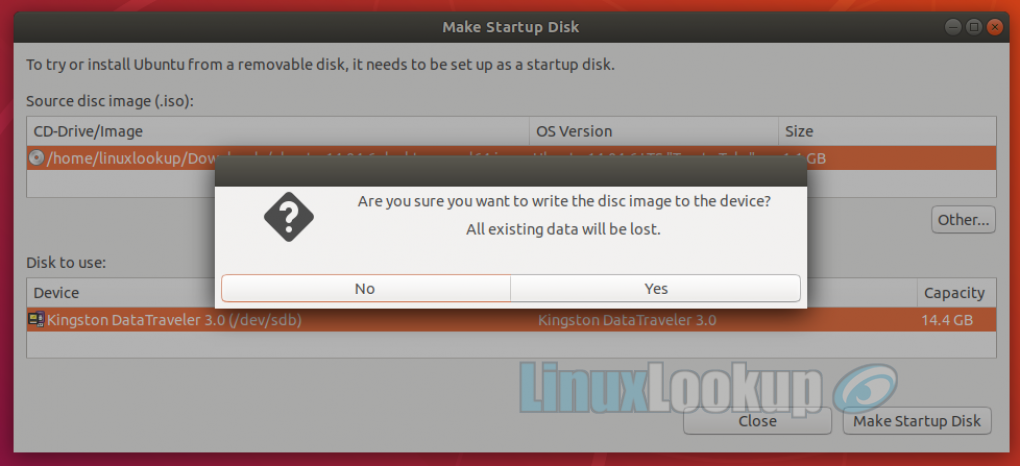
The creation process will start.

Once the write process completes the USB stick will be ready to boot from.

Related Article: HowTo Format a USB Device after using Ubuntu Startup Disk creator.